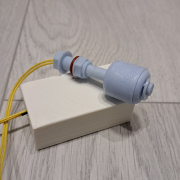
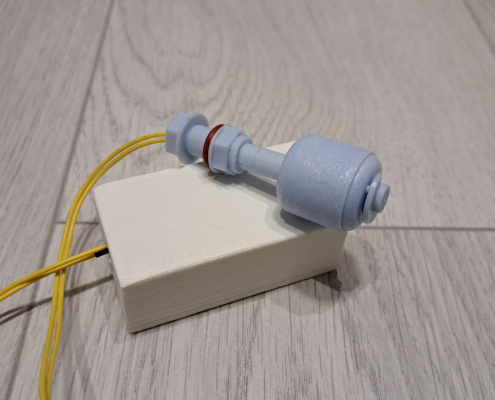
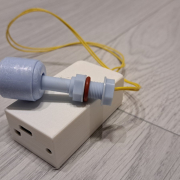
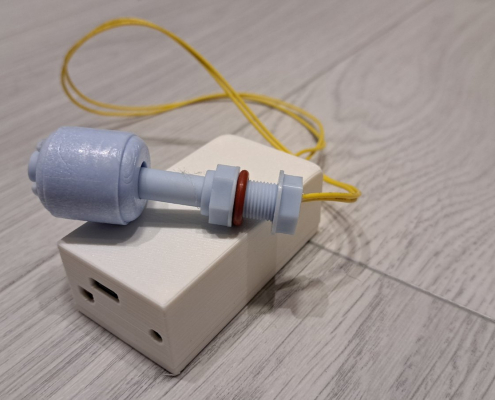
The Smart Float provides a simple and efficient solution for monitoring liquid levels in containers. Designed for integration with the Home Assistant platform, it allows you full control with minimal effort.
Key Features:
- Overflow Protection
The smart system detects when the liquid level reaches a critical point, helping you avoid unwanted overflow. - Audible Alarm (Buzzer)
The built-in alarm activates as soon as the liquid level becomes too high, ensuring an immediate response. - Mobile Notifications
Receive alerts via the Home Assistant app directly to your smartphone, no matter where you are.
Applications:
Ideal for use in households and industries, such as:
- Water tanks
- Aquariums
- Irrigation systems
- Home brewing
Easy Integration:
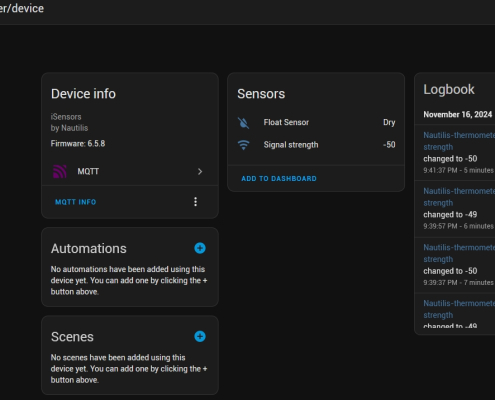
Thanks to MQTT Discovery support, the device automatically connects to the Home Assistant platform, enabling quick setup of notifications and automations.
How It Works:
The Smart Float monitors the liquid level and sends its status (“on” for high level, “off” for low level) via MQTT. Connect the device to Home Assistant and set up rules for audible alarms or automatic shutdown of pumps and other devices. The device has a USB-C slot for 5V power supply, and WiFi only supports 2.4 Ghz
On Home Assistant, you can also monitor the Wi-Fi signal strength and receive notifications if the device goes offline.
Nautilis thermometer management system
View and edit thermometer settings (no internet required)
To view and change the device settings, first connect to the WiFi network that the device transmits, which is usually: nautilis_Sensor. The network password comes on the paper with the device. After connecting to the network, some devices automatically open the Internet browser, and some require you to open the Internet browser and go to the address: 192.168.4.1
After that, the Nautilis thermometer managment home page opens where you can view and edit the following settings:
WiFi Config
MQTT
 You must enter your WiFi network data in the Network name and password fields. Watch out for uppercase and lowercase letters!
The Mqtt service must be marked and stored on the thermometer. Then a new field appears in the settings: MQTT server: Here you enter the link or IP address of the server. User & password: Here you enter the username and password if it is set on the server.
You can select the temperature sending interval of 1, 5,15 or 60 minutes.
Click the SUBMIT button and reboot the device.
To view the data on the client, it is necessary to enter the topic: ap_ssid_of device/temperature
Since each device must have a different ap ssid, that is precisely the difference in the topic. Therefore, multiple identical devices can be used to send to MQTT
The port is hardcoded to 1883
HOME ASSISTANT

Connecting a device to MQTT and integrating it with Home Assistant involves establishing communication between the device and the MQTT broker, and then configuring Home Assistant to automatically recognize and interact with the device. Here’s a simplified description without delving into the YAML configuration file:
Management
Here you change the alarm and sensor settings.
Audio alarm
Here you can turn the thermometer audible alarm on or off.
Reset settings
Reboot
Opening this link will reboot the device

